Online Installation with Embedded Cluster
This topic describes how to install an application in an online (internet-connected) environment with the Replicated Embedded Cluster installer. For information about air gap installations with Embedded Cluster, see Air Gap Installation with Embedded Cluster.
Prerequisites
Before you install, complete the following prerequisites:
-
Ensure that your installation environment meets the Embedded Cluster requirements. See Embedded Cluster Requirements in Installation Requirements.
-
The application release that you want to install must include an Embedded Cluster Config.
-
The license used to install must have the Embedded Cluster Enabled license field enabled. See Creating and Managing Customers.
- Ensure that the required domains are accessible from servers performing the installation. See Firewall Openings for Online Installations.
Install
To install an application with Embedded Cluster:
-
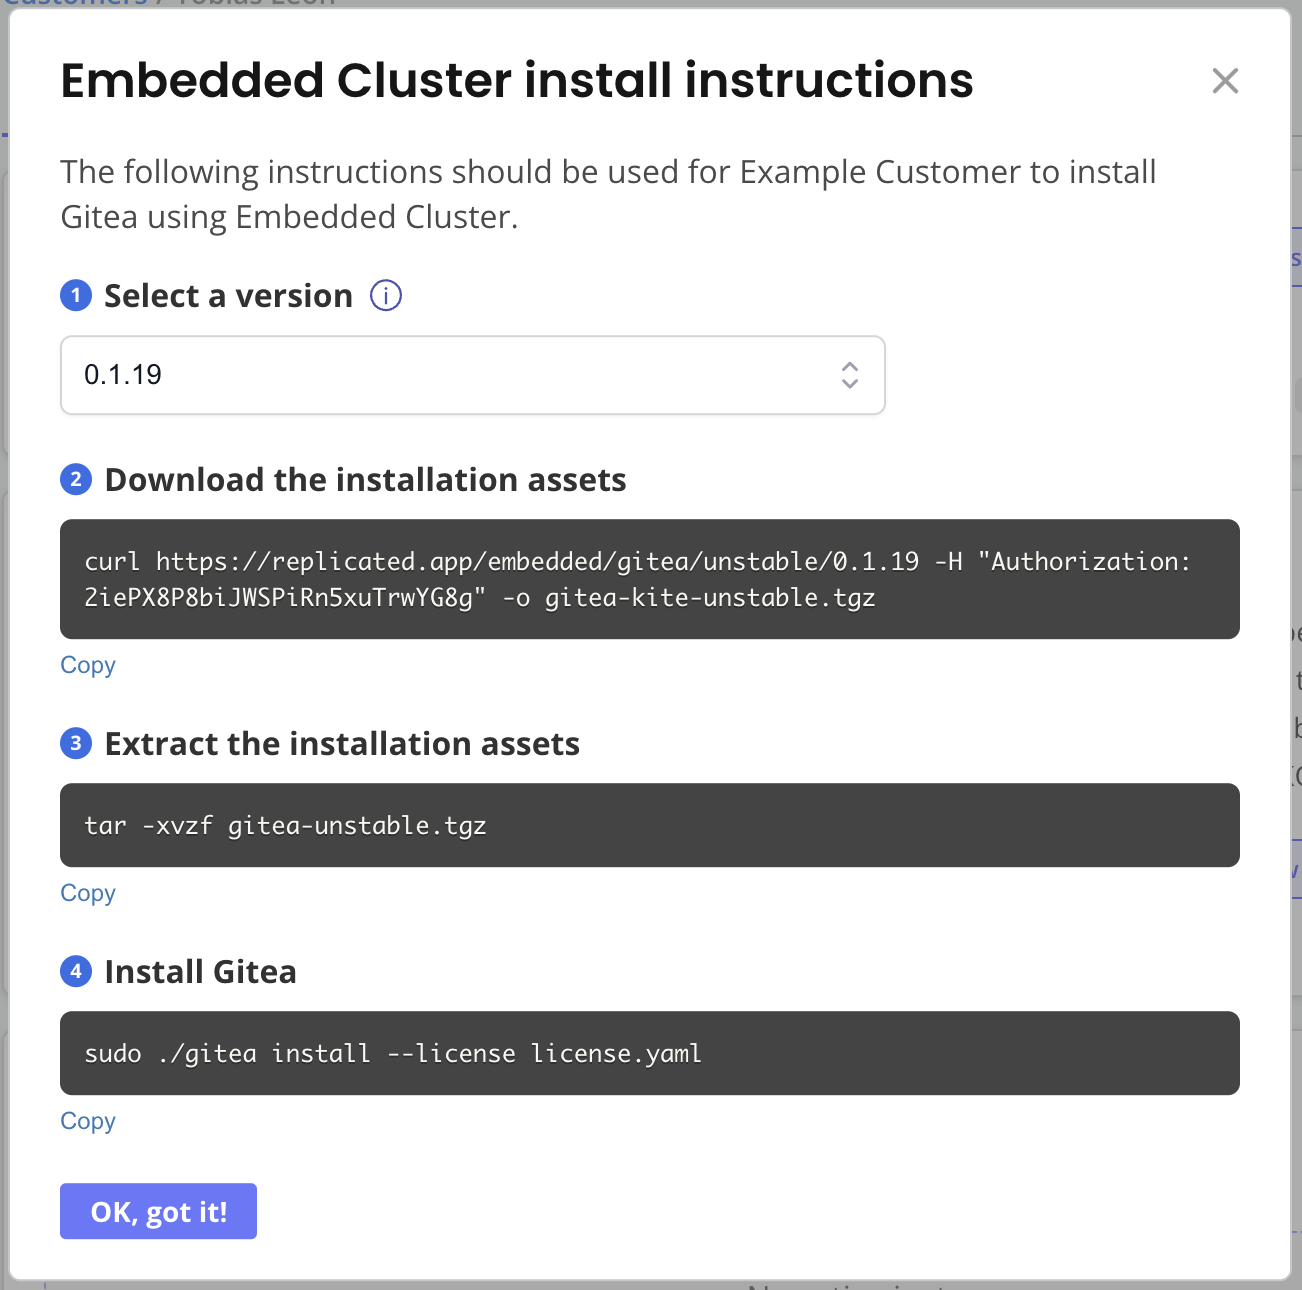
In the Vendor Portal, go to Customers and click on the target customer. Click Install instructions > Embedded Cluster.

View a larger version of this image
The Embedded Cluster install instructions dialog is displayed.

-
(Optional) In the Embedded Cluster install instructions dialog, under Select a version, select a specific application version to install. By default, the latest version is selected.
-
SSH onto the machine where you will install.
-
Run the first command in the Embedded Cluster install instructions dialog to download the installation assets as a
.tgz. -
Run the second command to extract the
.tgz. The will produce the following files:- The installer
- The license
-
Run the third command to install the release:
sudo ./APP_SLUG install --license LICENSE_FILEWhere:
APP_SLUGis the unique slug for the application.LICENSE_FILEis the customer license.
noteEmbedded Cluster supports installation options such as installing behind a proxy and changing the data directory used by Embedded Cluster. For the list of flags supported with the Embedded Cluster
installcommand, see Embedded Cluster Install Command Options. -
When prompted, enter a password for accessing the KOTS Admin Console.
The installation command takes a few minutes to complete. During installation, Embedded Cluster completes tasks to prepare the cluster and install KOTS in the cluster. Embedded Cluster also automatically runs a default set of host preflight checks which verify that the environment meets the requirements for the installer.
-
When the installation command completes, go to the URL provided in the output to access the Admin Console.
Example output:
✔  Host files materialized
? Enter an Admin Console password: ********
? Confirm password: ********
✔  Host files materialized!
✔  Host preflights succeeded!
✔  Node installation finished!
✔  Storage is ready!
✔  Embedded Cluster Operator is ready!
✔  Admin Console is ready!
✔  Additional components are ready!
Visit the admin console to configure and install gitea-kite: http://104.155.145.60:30000
At this point, the cluster is provisioned and the KOTS Admin Console is deployed, but the application is not yet installed.
-
Bypass the browser TLS warning by clicking Continue to Setup.
-
Click Advanced > Proceed.
-
On the HTTPS page, upload your own private key and certificacte or select Self-signed.
By default, a self-signed TLS certificate is used to secure communication between your browser and the Admin Console. You will see a warning in your browser every time you access the Admin Console unless you upload your own certificate.
-
On the login page, enter the Admin Console password that you created during installation and click Log in.
-
On the Nodes page, you can view details about the VM where you installed, including its node role, status, CPU, and memory. Optionally, add nodes before deploying the application. Click Continue.
-
On the config screen, complete the fields for the application configuration options and then click Continue.
-
On the Preflight checks page, the application-specific preflight checks run automatically. Preflight checks are conformance tests that run against the target namespace and cluster to ensure that the environment meets the minimum requirements to support the application. Click Deploy.
noteReplicated recommends that you address any warnings or failures, rather than dismissing them. Preflight checks help ensure that your environment meets the requirements for application deployment.
noteIf the application does not include preflight checks, next to the target version on the dashboard, click Deploy then Yes, Deploy to install the application.
The Admin Console dashboard opens.
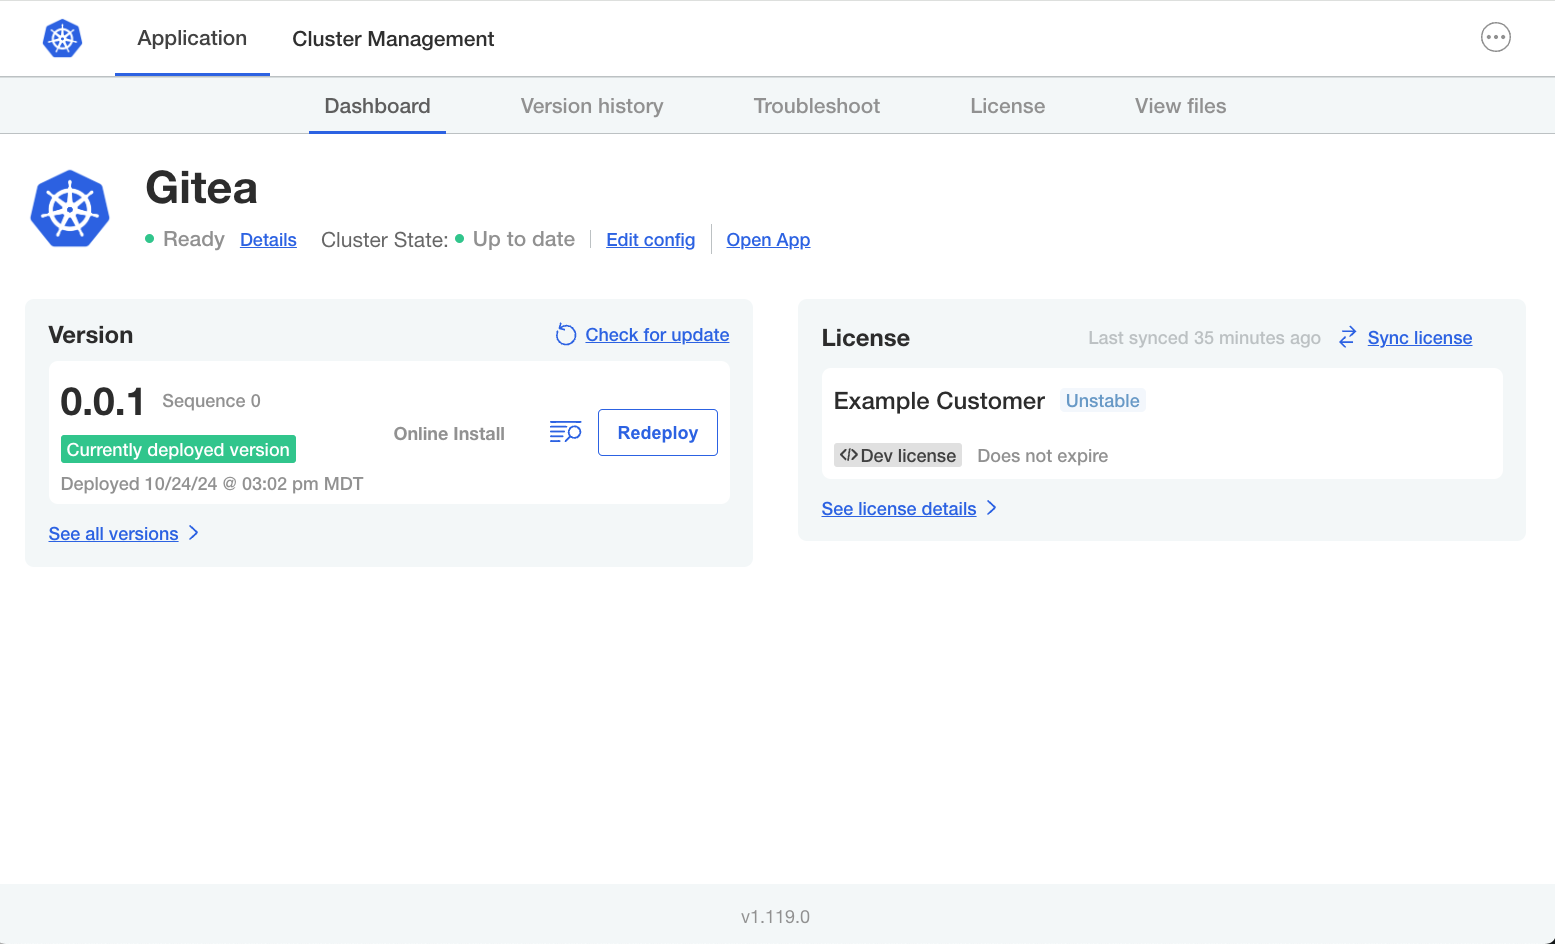
On the Admin Console dashboard, the application status changes from Missing to Unavailable while the application is being installed. When the installation is complete, the status changes to Ready. For example:
